How To Wrap A Small Gift Without Using Too Much Paper
A practical step-by-step guide to how to wrap a small gift without using too much paper, including preparation, instructions, common issues, tips, and next steps.
How To Wrap A Small Gift Without Using Too Much Paper
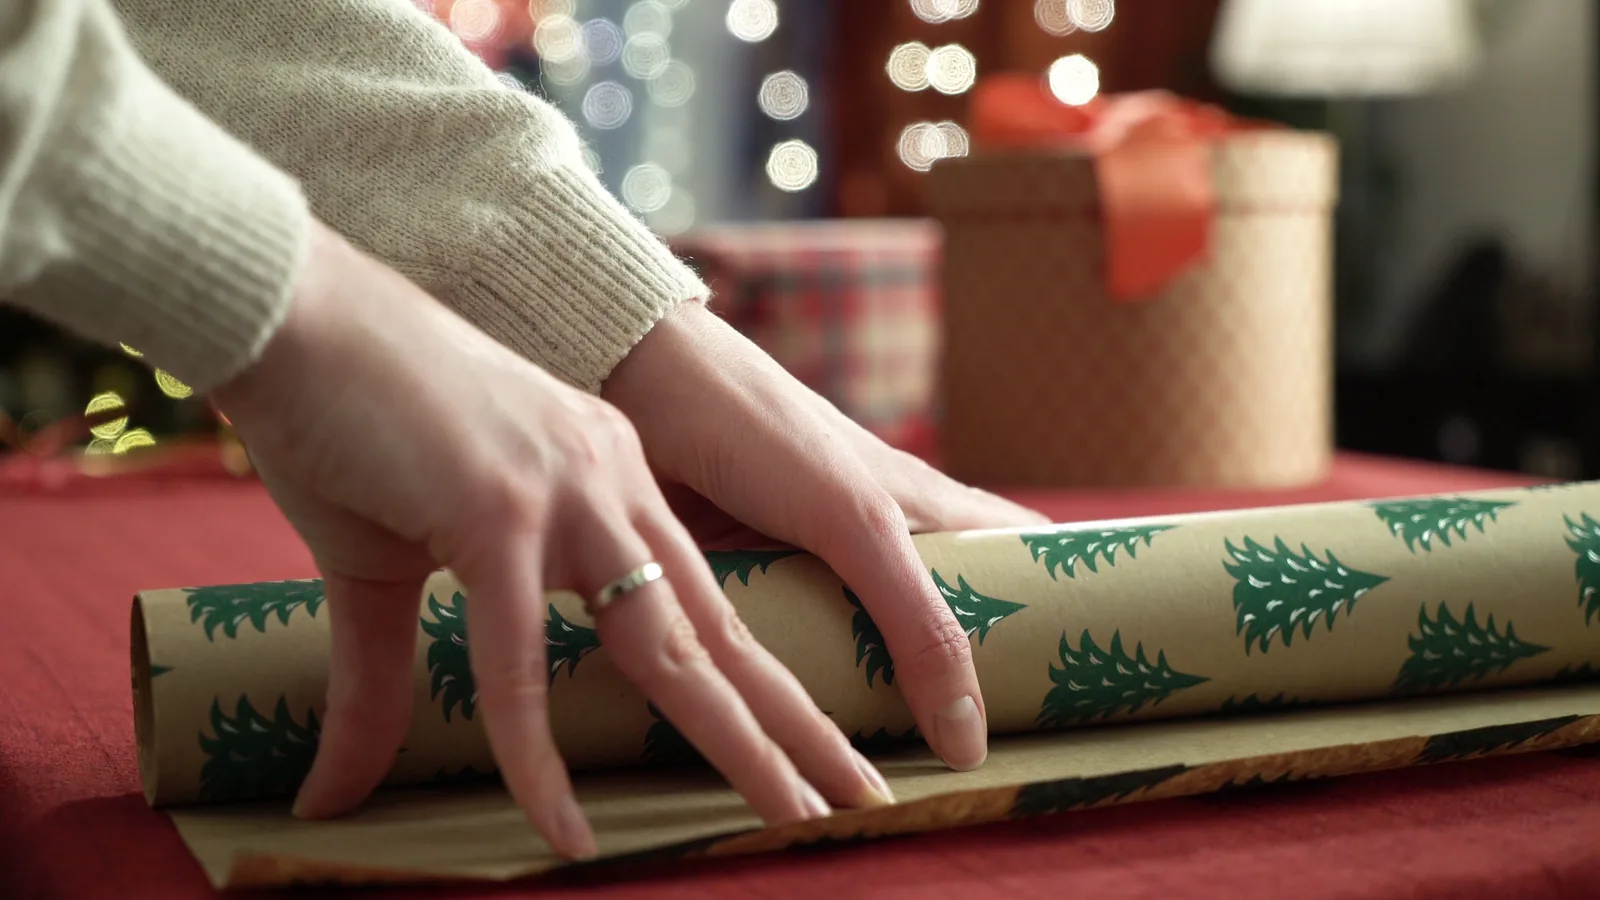
Wrapping a small gift without wasting paper is a practical skill that saves money and reduces waste. By measuring carefully, choosing the right paper, and using simple folding techniques, you can create a neat, attractive package using a surprisingly small amount of wrapping paper. This guide offers step-by-step instructions, clever tips, and quick solutions to common wrapping challenges, helping you wrap efficiently and beautifully every time.
Fast Answer
- Use a box or flat item as a base, measure the paper by wrapping it around the gift with a small overlap, and cut just that size—no more. This ensures you use only what you need.
- For irregular items, place the gift face-down on the paper, fold the sides up to meet in the middle, and tape—this uses minimal paper and still looks tidy.
Before You Start
- Gather the small gift, a ruler or tape measure, sharp scissors, double-sided tape or clear tape, and a flat clean surface to work on. Having everything ready simplifies the process.
- If the gift is soft or oddly shaped, consider placing it in a small box or using a piece of cardboard as a base to create a firmer shape, which makes wrapping easier and uses less paper.
- Choose a lightweight wrapping paper that is not too thick or textured; thinner paper folds more cleanly and allows you to make tighter, more precise folds that use less material.
- Clear a workspace and have a pencil or bone folder handy for scoring crisp folds. A flat surface like a table or cutting mat helps you measure and cut accurately.
Step-by-Step Instructions
Measure the Paper with the Wrap-Around Method
First, place your gift face-down on a flat surface. Unroll the wrapping paper and pull it over the top of the gift so that it extends about 1 to 2 inches (2.5 to 5 cm) beyond the edge where the two ends will meet. Mark that point with a light pencil line or your finger. Then, roll the gift one full turn along its longest side to see exactly how much paper is needed to cover the circumference. Add just a 1-inch (2.5 cm) overlap for the seam. This method gives you the minimum length required, avoiding wasteful guesswork. Next, measure the width by wrapping the paper around the gift's width, leaving about 2 inches (5 cm) extra on each side for folding. Use scissors to cut along the marked line, ensuring straight edges. This precise measurement ensures you use only the paper that is necessary, reducing waste and making the wrapping process quicker and easier. Check that the paper fits snugly around the gift without being too tight, which could cause tearing.
Cut the Paper to Exact Dimensions
Lay the gift in the center of the cut paper, ensuring that the longer side of the paper aligns with the longer side of the gift. The paper should be large enough to wrap around the gift with about 1 inch (2.5 cm) of overlap on the long side, and about 2 inches (5 cm) of extra paper on each of the short ends. To confirm your measurements, fold the paper over the gift without taping, and check that the edges meet neatly with just a small overlap. If the paper is too large, trim it down using scissors, cutting straight along a ruler for a clean edge. This step is crucial because using too much paper not only wastes material but also makes the folds bulky and harder to manage. By cutting to the exact size, you ensure that the wrapping will be tight and neat, with minimal excess to fold. A practical check: place the gift on the paper and fold each side over; the paper should just cover the gift with a slight allowance, leaving no large flaps.
Secure the First Side with Tape
Place the gift in the center of the paper with the pattern side facing down (if your paper has a pattern). Bring one long edge of the paper up over the gift and hold it in place along the center line of the gift. Ensure the paper is smooth and tight against the gift, without wrinkles. Apply a piece of double-sided tape along the edge of the paper, about 1 inch (2.5 cm) from the edge, and press it down to adhere to the gift. Then, bring the opposite long edge over the first, overlapping it by about 1 inch (2.5 cm). Check that this overlap is even along the entire length of the gift. Pull the paper taut, but not so tight that it rips, and press the two edges together to secure the seam. This creates a firm base for the next steps. If the paper is too loose, unwrap and pull tighter before retaping. Practice this technique on a piece of scrap paper if needed to get the tension right.
Fold the Ends into Clean Triangles
Now, focus on one open end of the gift. Press the paper flat against the side of the gift to form a crease along the edge. Then, fold the top flap of paper down toward the side of the gift, creating a triangular fold, and press it flat. Do the same with the bottom flap, folding it upward to meet the top flap, forming another triangle. The two triangles should meet neatly in the center, covering the entire end of the gift. Tuck the point of the top triangle under the fold of the bottom triangle, or fold them both inwards to create a neat envelope-like finish. Secure the point with tape, placing a small piece on the seam. Repeat this process on the other end of the gift. These folds create a tight, tailored look and ensure that no excess paper sticks out, making the package compact and neat. A practical check: the folded ends should lie flat against the gift with no bulges, and the triangles should align symmetrically.
Reinforce the Seams with Tape
To ensure the wrapping stays secure, run a piece of clear tape along the center seam where the two long edges meet. Start at one end and carefully place the tape over the seam, pressing it down firmly as you go. This adds strength to the package and prevents the paper from shifting during handling. Also, place a small piece of tape on the bottom of each end fold, where the triangular points meet, to keep them in place. For extra security, you can add a piece of tape at the corners of the gift, where the paper might be prone to lifting. Check that all edges are smooth and that no tape is visible on the top or sides if you prefer a clean look. While tape is necessary for security, try to use minimal amounts to keep the wrapping neat. A practical check: hold the wrapped gift by one end and gently shake it; the paper should not move or come loose.
Add a Simple Bow or Decoration
Once the wrapping is secure, add a small bow, a ribbon, or a sprig of greenery to give the gift a finished look. Keep the decoration simple and proportional to the package's small size—a small bow or a piece of twine with a gift tag is perfect. If using ribbon, wrap it around the gift once horizontally and once vertically, crossing at the center, then tie a neat bow. Trim any excess ribbon with scissors, leaving tails of about 2-3 inches (5-7.5 cm). If you prefer a minimal look, a single sprig of dried lavender or a handmade paper flower adds a personal touch without bulk. Ensure the decoration does not cover the entire paper, as the neat wrapping is the star. This step not only enhances the presentation but also secures the folds further. A practical check: the decoration should be centered and symmetrical, and it should not make the package lopsided or bulky.
Quick Reference
| Situation | Action | Why it helps |
|---|---|---|
| The wrapping paper is too short to cover the gift completely. | Move the gift so that it is slightly diagonal on the paper, which increases the effective length, or use a contrasting paper strip to cover the gap as a decorative accent. | A diagonal placement uses the paper's diagonal dimension, which is longer than the straight sides, allowing you to wrap a slightly larger gift without cutting a new sheet. |
| The gift is an odd shape, like a round tin or a bottle. | Wrap the item in tissue paper first, then gather the edges at the top and tie with ribbon, or use a gift bag with tissue paper. | Tissue paper and a bag conform to irregular shapes without the need for precise folding, using less paper and avoiding bulky corners. |
| You need to wrap multiple small gifts efficiently. | Cut the paper into squares that just fit each gift, using a template for the most common size, and reuse any leftover paper for even smaller items. | Pre-cutting standard sizes reduces measurement time and waste, and reusing scraps means you buy less paper overall. |
Common Issues
- The paper tears while wrapping, especially at the corners.: Loosen the tension by unfolding the paper and re-wrapping with a slightly larger allowance. For future wraps, choose a thicker paper or handle the paper gently, and use a bone folder to ease the creases without force.
- The ends of the paper are too long, creating bulky folds.: Trim the paper so that it extends only about 2 inches (5 cm) beyond the gift's edge on each side. If it's already too long, you can fold the excess under neatly instead of cutting, which reduces bulk.
- The tape shows on the outside, making the wrap look messy.: Use double-sided tape on the inside of the paper to create a seamless finish. For the seam and ends, place tape on the underside of the paper so it is hidden, or use washi tape as a decorative element.
Advanced Tips
- Master the 'wrap as you go' technique: instead of cutting a large sheet, tear a piece slightly larger than the gift and trim after each fold, which minimizes waste and ensures a perfect fit.
- Use the 'gift wrap organizer' method: store leftover paper pieces in a flat box sorted by size, so you can easily find a piece that fits a small gift without cutting a fresh sheet.
- For a zero-waste approach, use fabric (furoshiki) or a decorative scarf as wrapping, which requires no paper at all and can be reused again and again.
Final Checklist
- Measure the paper around the gift with a small overlap before cutting, to ensure minimal waste.
- Cut the paper to exact dimensions, leaving only 1-2 inches (2.5-5 cm) extra for folds.
- Fold the ends into tidy triangles and secure with tape on the underside for a clean look.
- Add a simple decoration, keeping it proportional to the gift's size, and ensure all tape is hidden or neat.
FAQ
How can I wrap a very small gift, like a ring or a gift card, without using too much paper?
For tiny items, use a small jewelry box or fold a sheet of paper around the item like an envelope. Cut a square of paper that is about 2 inches (5 cm) larger than the item on each side, place the item in the center, fold two opposite sides over, then fold the remaining sides and tape. This uses a minimal piece of paper and creates a neat package. Alternatively, use a small cloth or a piece of origami paper for an eco-friendly option.
What is the best type of wrapping paper that uses the least amount?
Thin, lightweight paper is best because it folds tightly and creases easily, allowing you to make precise folds without extra bulk. Heavy or textured paper can be bulkier and require larger cuts. Also, look for paper with a grid on the back (like some Kraft papers) to help with straight cuts and measurements. Any type of paper can be used if you measure carefully, but thin paper is the most forgiving and economical.
Can I reuse wrapping paper? How can I remove tape without tearing it?
Yes, you can reuse wrapping paper if it is not too wrinkled or torn. To remove tape without tearing the paper, use a hairdryer on a low heat setting to soften the adhesive, then slowly peel the tape off. Another method is to rub a small amount of rubbing alcohol over the tape with a cotton swab, which can release the adhesive. After removing the tape, gently flatten the paper and store it rolled or flat for future use.